Search This Blog

Wednesday, January 21, 2015

X11 Forwarding over SSH: run remote graphical app and display locally

X11 Forwarding over SSH: run remote graphical app and display locally 


Copied from  http://linuxcommando.blogspot.in/2013/05/x11-forwarding-over-ssh-run-remote.html

In the modern networked environment, we often wish to run an application on a remote host while we are comfortably logged in on our local computer.
Assuming both machines are Linux-based, and the application runs on the graphical X desktop, the following approaches come to mind:
  • VNC
  • X11 forwarding over SSH
This article focuses only on X11 forwarding. X11 forwarding over SSH enables you to run a remote X app and display it locally, with traffic between the 2 hosts encrypted by SSH.
For X11 forwarding over SSH to work, both the SSH client and SSH server must be properly configured.
X11 forwarding must be enabled on The SSH server side. This is the machine where the application resides. To enable the feature, make sure the X11 configuration file /etc/ssh/sshd_config on the server contains this line:
X11Forwarding yes
If you edit the said file, you need to restart the sshd daemon for the change to take effect.
On Debian or Ubuntu systems, you restart the SSH daemon like this:
$ sudo service ssh restart
[ ok ] Restarting OpenBSD Secure Shell server: sshd.
$
On the ssh client side, you need to run SSH command with the proper parameters. For instance, suppose you want to run the xclock application on the remote SSH server and have it displayed back on the local client.
$ ssh -fX peter@192.168.1.112 xclock 
peter@192.168.1.112's password: 
$
The -X parameter allows an one-off X11 forwarding session.
The -f parameter instructs the SSH client to go to the background just before xclock is run.
If you want to permanently enable X11 forwarding for an user, insert this line in the user's own ~/.ssh/config file on the local host.
ForwardX11 yes 
With X11 forwarding permanently enabled for the client, you can leave out the -X parameter:
$ ssh -f peter@192.168.1.112 xclock 
peter@192.168.1.112's password: 
$
If X11 forwarding is not enabled on the SSH server, any attempt to tunnel X11 will fail with the following error message:
$ ssh -X peter@192.168.1.112 xclock 
peter@192.168.1.112's password: 
X11 forwarding request failed on channel 0
Error: Can't open display: 
$
If X11 forwarding is properly enabled on the server side, you will see a nice looking clock displayed on your local screen.

Sunday, October 5, 2014

5 Open Source Cloning Software

Copied from the link:

http://www.cyberciti.biz/datacenter/5-awesome-open-source-cloning-software/

by  on AUGUST 22, 2014 · 0 COMMENTS· LAST UPDATED AUGUST 22, 2014
Cloning is nothing but the copying of the contents of a server hard disk to a storage medium (another disk) or to an image file. Disk cloning is quite useful in modern data centers for:
  1. Full system backup.
  2. System recovery.
  3. Reboot and restore.
  4. Hard drive upgrade.
  5. Converting a physical server to virtual machine and more.
In this post, I'm going to list the Free and Open Source Software for Disk Imaging and Cloning that you can use for GNU/Linux, *BSD and Mac OS X desktop operating systems.

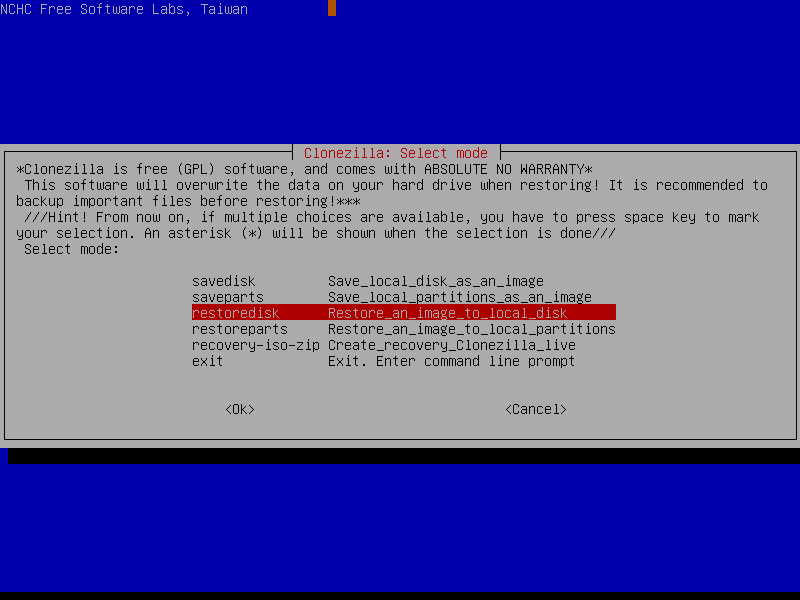
Clonezilla - One Partition and disk cloning program to rule them all

Clonezilla is a partition and disk imaging/cloning program similar to True Image and Norton Ghost. I frequently use Clonezilla software to do system deployment, bare metal backup and recovery. Clonezilla live is good for single machine backup and restore at home. Clonezilla SE is for massive deployment in data center, it can clone many (40 plus!) computers simultaneously. Clonezilla saves and restores only used blocks in the harddisk. This increases the clone efficiency. It supports the following file systems
  1. ext2, ext3, ext4, reiserfs, xfs, jfs of GNU/Linux
  2. FAT, NTFS of MS Windows
  3. HFS+ of Mac OS
  4. UFS of BSD
  5. minix of Minix and VMFS of VMWare ESX.

=> Download Clonezilla

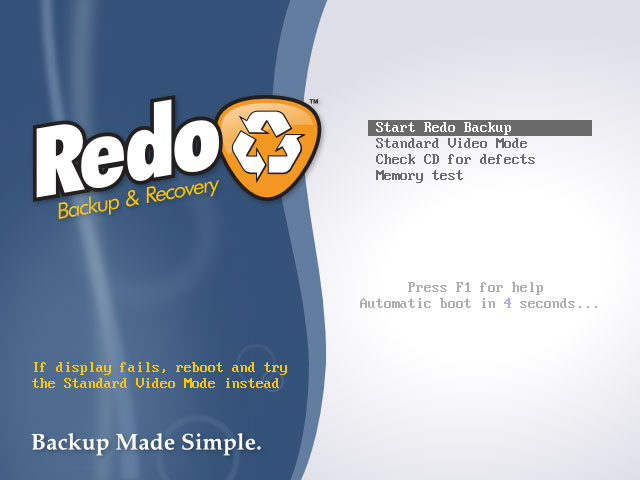
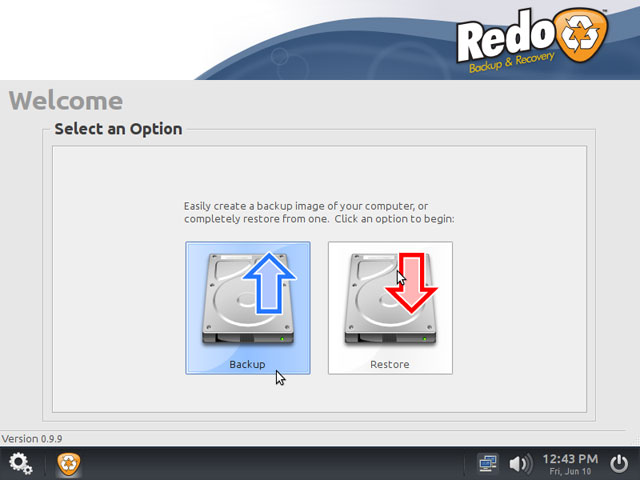
Redo Backup - Easy to use GUI based backup, recovery and restore for new users

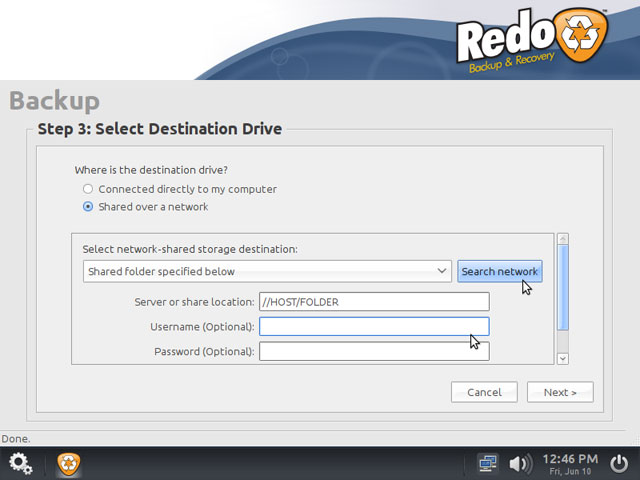
Redo Backup and Recovery is a bootable Linux CD image, with a GUI. It is capable of bare-metal backup and recovery of disk partitions. It can use external hard drives and network shares (NFS/CIFS) for storing images. Major feature includes:
  1. It can save and restore MS-Windows and Linux based servers/desktop systems.
  2. No installation needed; runs from a CD-ROM or a USB stick.
  3. Automatically finds local network shares.
  4. Access your files even if you can't log in.
  5. >Recover deleted pictures, documents, and other files.
  6. Internet access with a full-featured browser to download drivers.

=> Download Redo backup

Fog - Perfect cloning solution for Microsoft shop

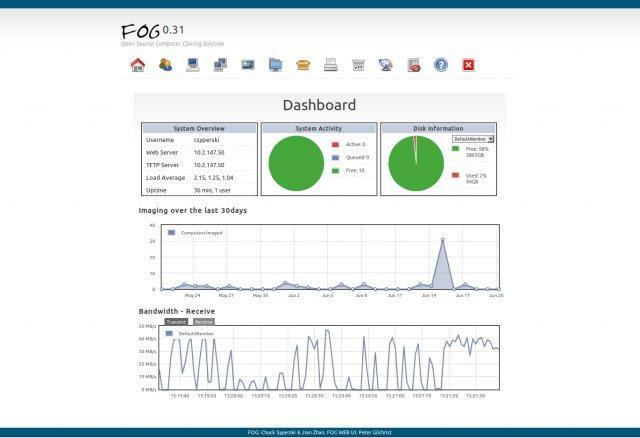
FOG is a Linux-based, free and open source computer imaging solution for Windows XP, Windows Vista, Windows 7, Windows 8, and Linux (limited) that ties together a few open-source tools with a php-based web interface. FOG doesn't use any boot disks, or CDs; everything is done via TFTP and PXE. Your PC boots via PXE and automatically downloads a small Linux client. From there you can select many activities on the PC, including imaging the hard drive. FOG supports multi-casting, meaning that you can image many PCs from the same stream. So it should be as fast whether you are imaging 1 PC or 40 PCs.

=> Download Fog

Mondo Rescue - Disaster recovery solution for enterprise users

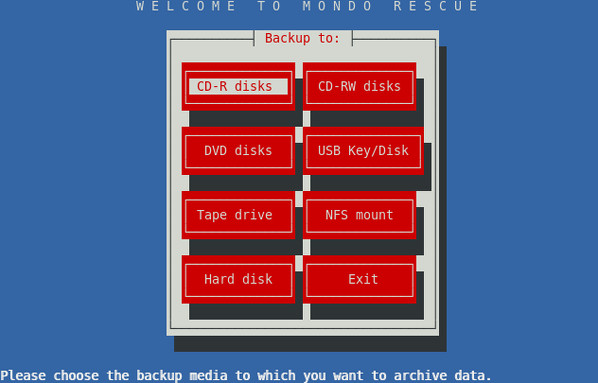
Mondo is reliable disater recovery software. It backs up your GNU/Linux server/desktop to tape, CD-R, CD-RW, DVD-R[W], DVD+R[W], NFS or hard disk partition. Mondo is in use by Lockheed-Martin, Nortel Networks, Siemens, HP, IBM, NASA's JPL, the US Dept of Agriculture, dozens of smaller companies, and tens of thousands of users world-wild. It supports LVM 1/2, RAID, ext2, ext3, ext4, JFS, XFS, ReiserFS, VFAT, and can support additional filesystems easily. It supports software raid as well as most hardware raid controllers.
Mondo Rescue In Action

=> Download Mondo Rescue

dd and friends - The ol' good *nix utilities

Warning: dd/ddrescue/dcfldd are power tools. You need to understand what it does, and you need to understand some things about the machines it does those things to, in order to use it safely.
The dd command converts and copies a file. You can clone a hard disk "sda" to "sdb":
 
dd if=/dev/sda of=/dev/sdb bs=1M conv=noerror
 
To clone one partition to another:
 
dd if=/dev/sdc3 of=/dev/sdd3 bs=4096 conv=noerror
 

dcfldd: A fork of dd

dcfldd is an enhanced version of GNU dd with features useful for forensics and security. Here is an example of cloning a hard disk "sda" and store to an image called "/nfs/sda-image-server2.dd":
 
dcfldd if=/dev/sda hash=md5,sha256 hashwindow=10G md5log=md5.txt sha256log=sha256.txt \
       hashconv=after bs=512 conv=noerror,sync split=10G splitformat=aa of=/nfs/sda-image-server2.dd
 
GNU ddrescue is a data recovery tool. It copies data from one file or block device (hard disc, cdrom, etc) to another, trying to rescue the good parts first in case of read errors.

Tuesday, July 9, 2013

Online Compilation of Programs in Any Programming Language

Compile Online:  You can compile and execute program of any programming language online on the site given below:


http://www.compileonline.com/


Monday, March 18, 2013

How to cancel printing or to delete a print job that is stuck in the print queue in Windows XP


Introduction

Printing problems are some of the most frustrating problems that we experience as computer users. This article discusses what to try if you have a problem when you try to cancel a print job, or if you have a problem when you try to delete a print job from the print queue. The four step-by-step methods in this article are intended for beginning to intermediate computer users.

If you have to cancel a print job, try Methods A through D in order.

If you have to delete a print job from the queue, go straight to Method D.

Resolution

Method A: Press the cancel button or use the cancel menu command on the printer

The most obvious way to cancel a print job is to find a cancel button or a cancel menu command on the printer and to press it. So, if you have not already done this, try this method first.

If this method worked for you, you are finished with this article. However, you may want to read the "Prevention tips" section to avoid this problem in the future.

If your printer does not have these items or if this method did not work for you, try Method B.

Method B: Turn the printer off and on

Next, try turning the printer off and then on. With certain printer models, this cancels the print job.

If this method worked for you, you are finished with this article. However, you may want to read the "Prevention tips" section to avoid this problem in the future.

If this method did not work for you, turn your printer off, and then try Method C.

Method C: Use Control Panel to cancel printing

This method is a bit fancier. We will use Control Panel to try to cancel printing.

But what exactly are you trying to do? Are you trying to cancel printing only a single document, or are there other print jobs that you want to cancel? And are all the print job yours, or are there print jobs that other people have sent to the printer? If you have to cancel documents that other people have sent to the printer, you must have Computer Administrator status or you must have permission to cancel the print jobs. If you are using your own printer, you most likely have Computer Administrator status. If you are printing to a shared printer, you might have to ask the system administrator to cancel the print job for you.

To cancel one or more print jobs, follow these steps.
  1. Click Start, and then click Run.
  2. In the Open box, type control printers, and then click OK.
  3. Right-click the icon for your printer, and then click Open.
    • To cancel individual print jobs, right-click the print job that you want to cancel, and then click Cancel.
    • To cancel all print jobs, click Cancel All Documents on the Printer menu.
Note If you cancel a print job that you did want to print, make sure that you send the print job to the printer again.

If this method worked for you, you are finished with this article. However, you may want to read the "Prevention tips" section to avoid this problem in the future.

If this method did not work for you, make sure that your printer is turned off, and then try Method D.

Method D: Stop the print spooler and delete all spooled files

If you tried Methods A through C and you were not successful, Method D should work for you. If you came to Method D immediately only to delete a print job, some of what we say here might not apply to you, so please bear with us.

Method D is somewhat more complex and will require a bit more work than the other methods, but don't worry. Method D looks much more difficult than it really is.

First, in case that you don’t know how printing works, here is a short explanation. Print jobs are sent to the printer as spooled files. This means that the files are put in a temporary location so that the printer can access a print queue and print jobs at its own speed. If you stop the spooler and its files, most of the time, you both cancel printing and delete the print job.

Note To use this method, you must have Computer Administrator status. If you are using your own printer, you most likely have Computer Administrator status. If you are printing to a shared printer, you might have to ask the system administrator to cancel the print job for you.

Step 1: Start Notepad

To stop the print spooler and its files, we will have you create and run a script file that will automatically stop the service. This sounds difficult, but it really isn't. Just follow these steps carefully.
  1. Click Start, and then click Run.
  2. In the Open box, type notepad, and then click OK. Notice that a blank Notepad document opens.

Step 2: Copy a command script to Notepad

Now we will have you copy and paste some commands to the Notepad document.
  1. Carefully select (highlight) all the following text:
    net stop spooler
    del %systemroot%\system32\spool\printers\*.shd
    del %systemroot%\system32\spool\printers\*.spl
    net start spooler
  2. Right-click the text that you selected, and then click Copy.
  3. In Notepad, right-click in the blank document, and then click Paste.
  4. Carefully select (highlight) all the following text:
    C:\DeletePrintJobs.cmd
  5. Right-click the text that you selected, and then click Copy.
  6. In Notepad, click Save As on the File menu.
  7. In the File Name box, right-click, and then click Paste.

    Note Notice that this file name differs from most other file names that you might have seen. That is because this file is a command script file.
  8. Click Save.

Step 3: Run the command script file

Now that you have created the command script file, you will run it. To run it, you will copy and paste the name of the command script file in the Run box.
  1. Carefully select (highlight) all the following text:
    C:\DeletePrintJobs.cmd
  2. Right-click the text that you selected, and then click Copy.
  3. Click Start, and then click Run.
  4. In the Open box, right-click, and then click Paste.
  5. Click OK.
  6. Notice that the Command Prompt window opens to run the command script file that you created. Notice also that this window closes automatically when the command script file has finished running. If you do not see the Command Prompt window open, check that you saved the command script file by using the correct name and that you entered the correct command script file name in the Run box.
Note If this method does not work the first time, or if you cannot print anything after you use this method, restart your computer, and then try again.

If this method worked, you are finished with this article. However, you may want to read the "Prevention tips" section to prevent this problem from happening again.

If this method does not work, we're sorry that this article was unable to help you. For your next steps, you might want to ask someone for help or contact support. For information about how to contact support, visit the following Microsoft Web site:

Prevention tips

To prevent this problem in the future, always make sure that you have the most recent printer driver installed on the computer. 

Wednesday, September 5, 2012